How to change colors & install Prepros
Theme Development
Edger works over SCSS, the major improvement about this, is the possibility to change main and secondary color easily.
If you want to change the main color you must follow the next steps:
-
Unzip wp-edger.zip (this is the theme only file) and remember where is the folder location.
-
Install a SASS compiler, we recommend you to use Prepros 7, you can download it here.
-
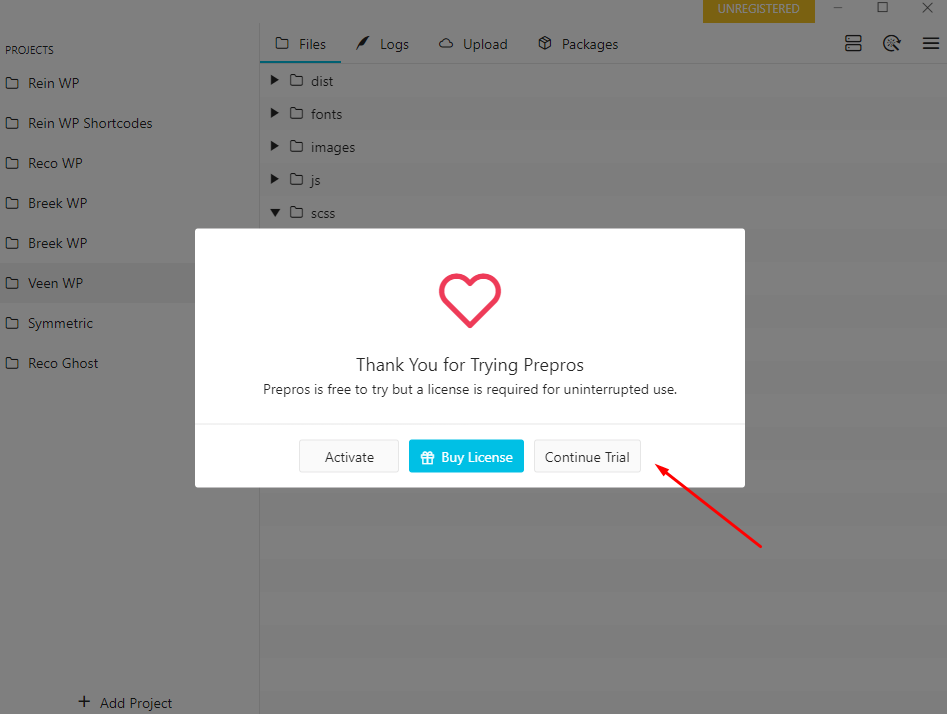
After installed you must see a window like this (just click continue trial):
-
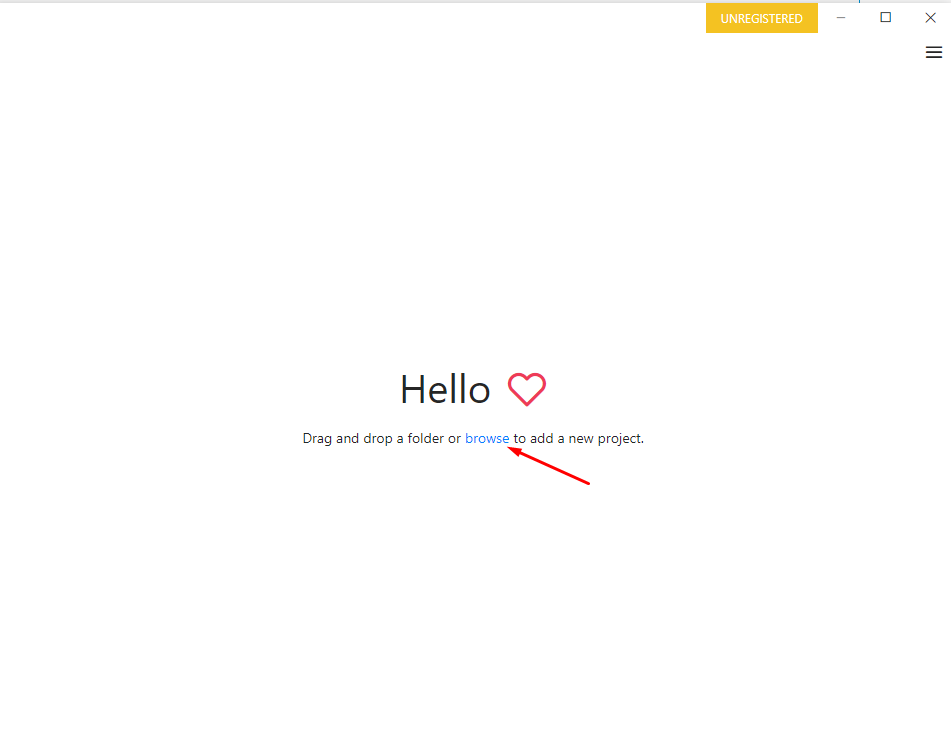
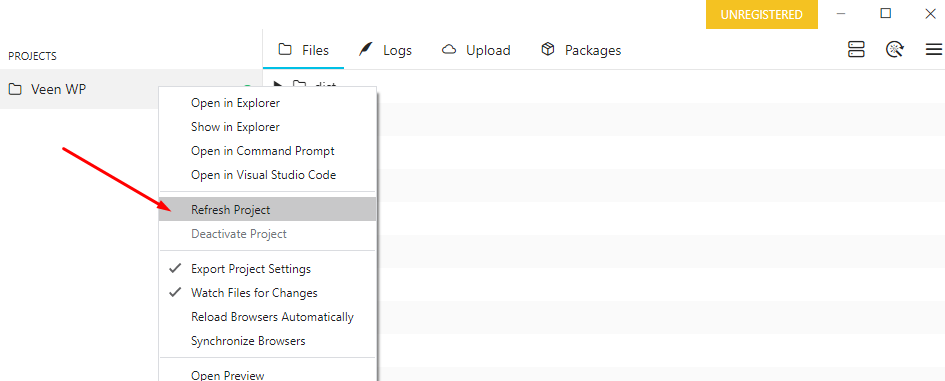
Click on Add Project on the left bottom side.
-
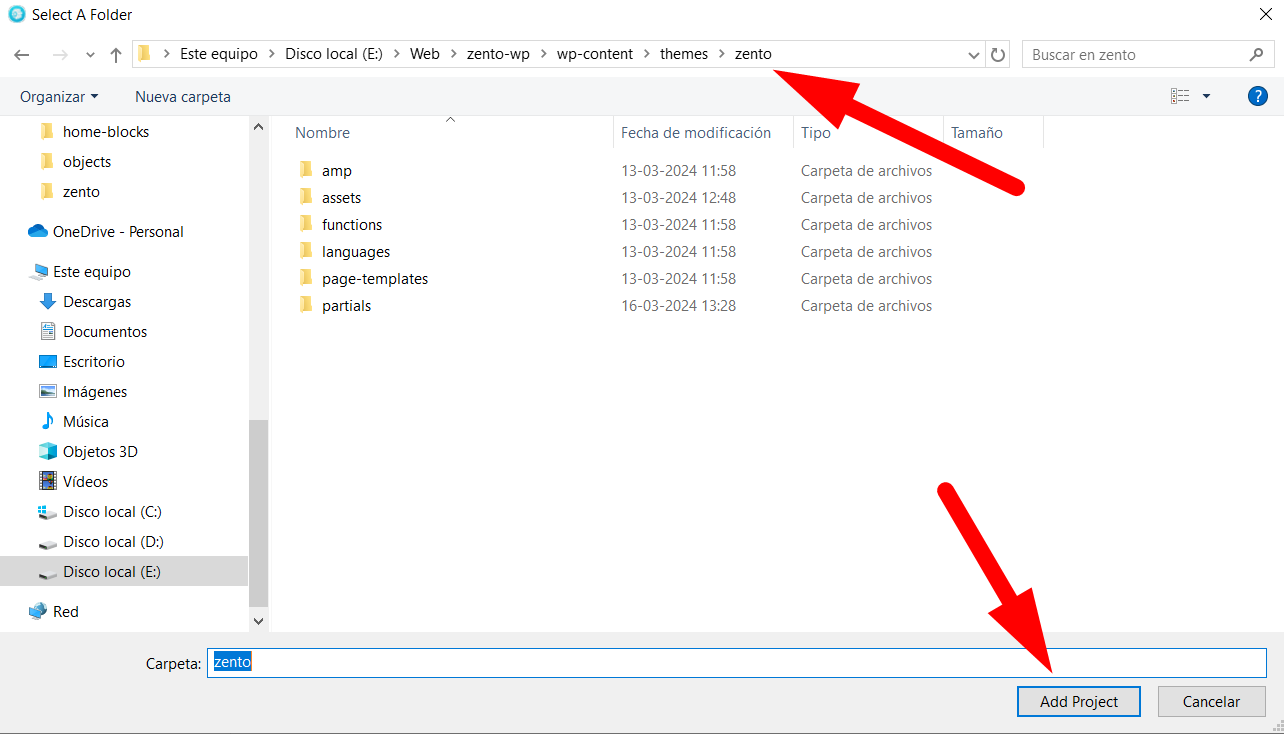
Search for Edger folder (where you already unzipped the project).
-
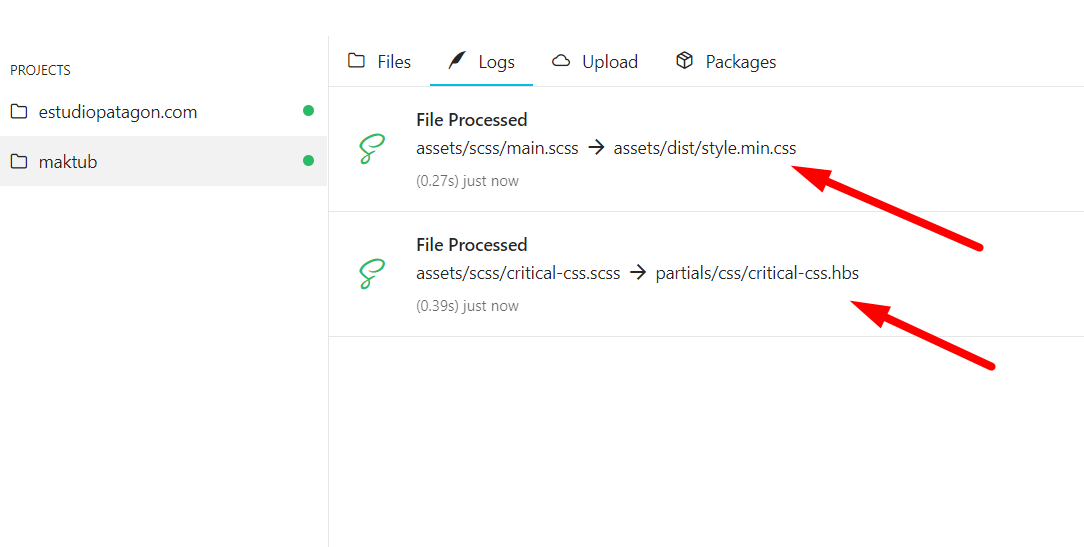
Click on Config icon → Refresh, this will load Prepros 7 Config file inside theme, so everytime you save a SCSS or JS file, it will be minified and saved into edger/assets/dist folder.
-
Open
edger/assets/scss/_settings.scssfile and change the color that you want, example: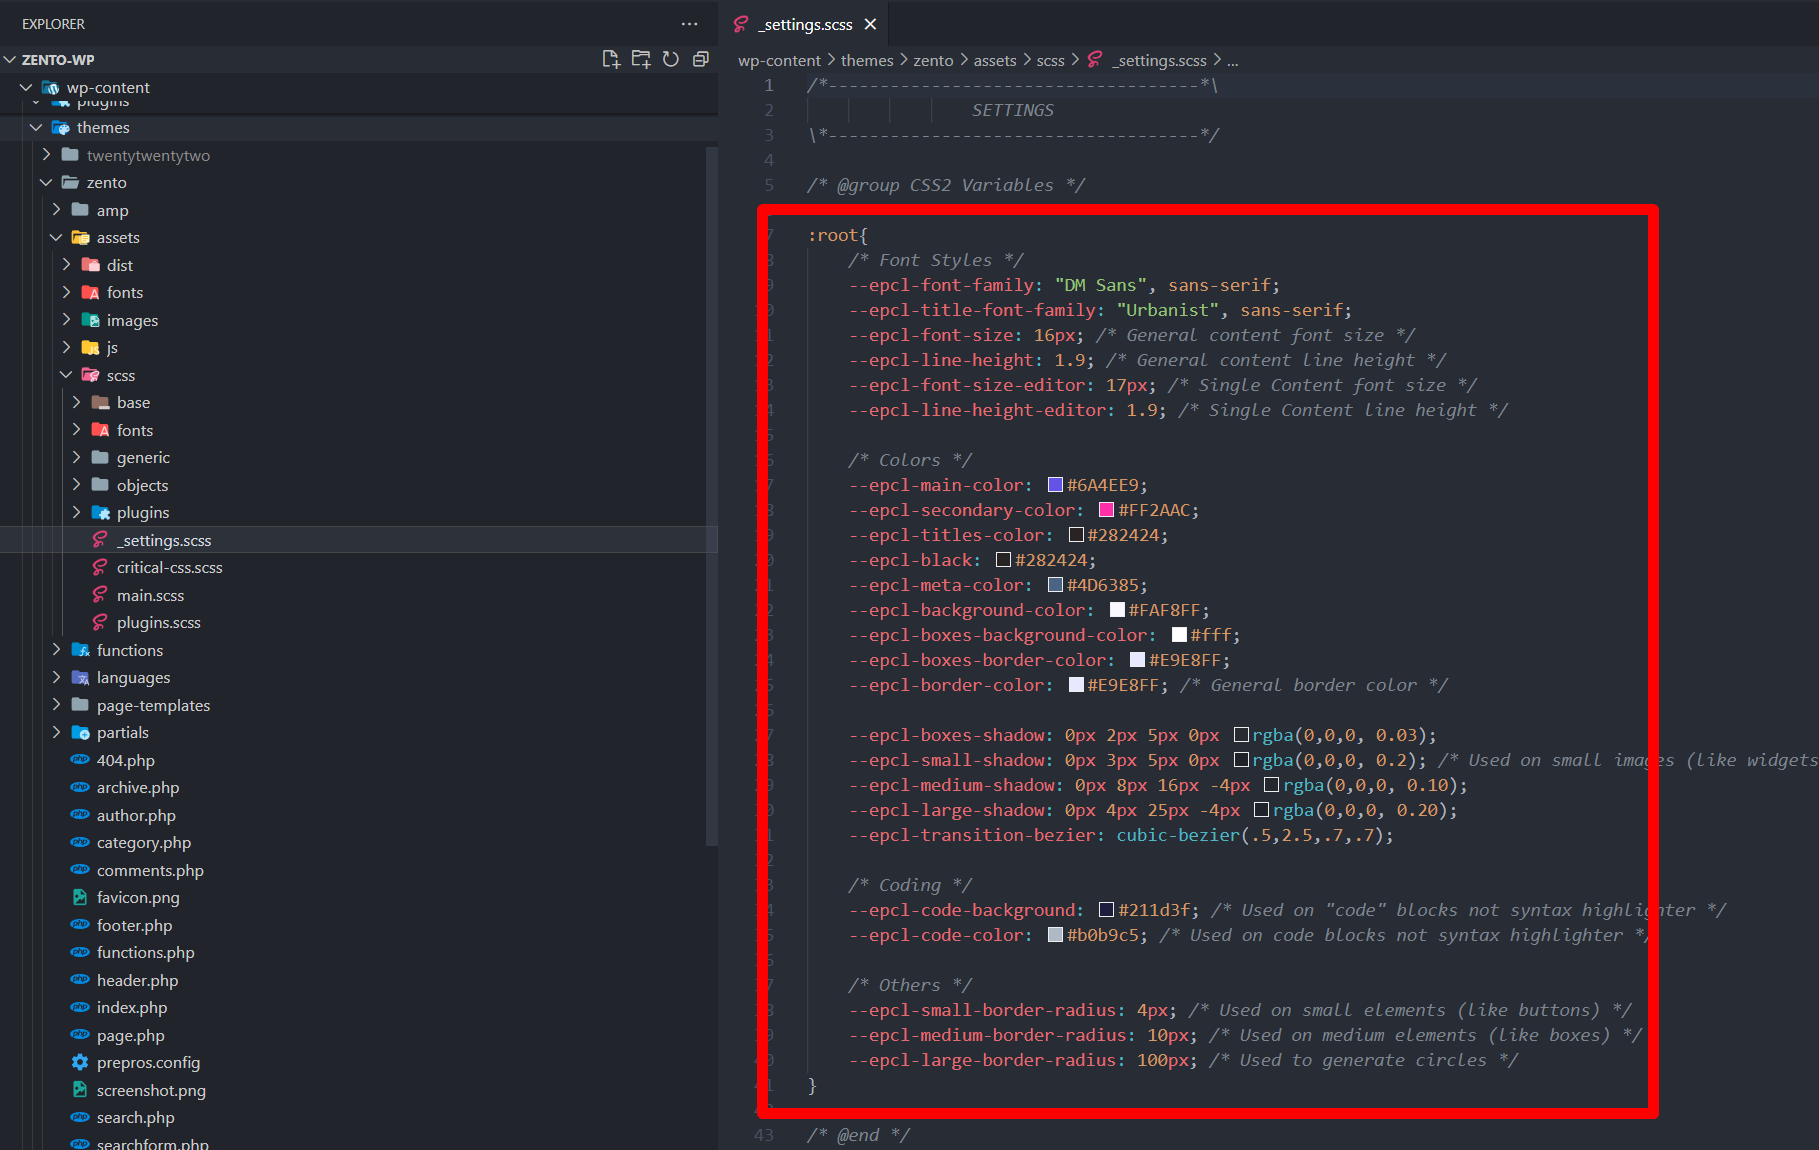
-
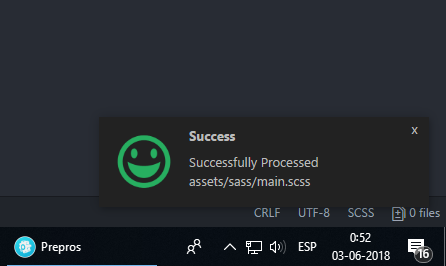
After you save settings file, you will see a notification if there isn’t any error:
-
Zip Edger Folder and reupload into your Ghost Installation.
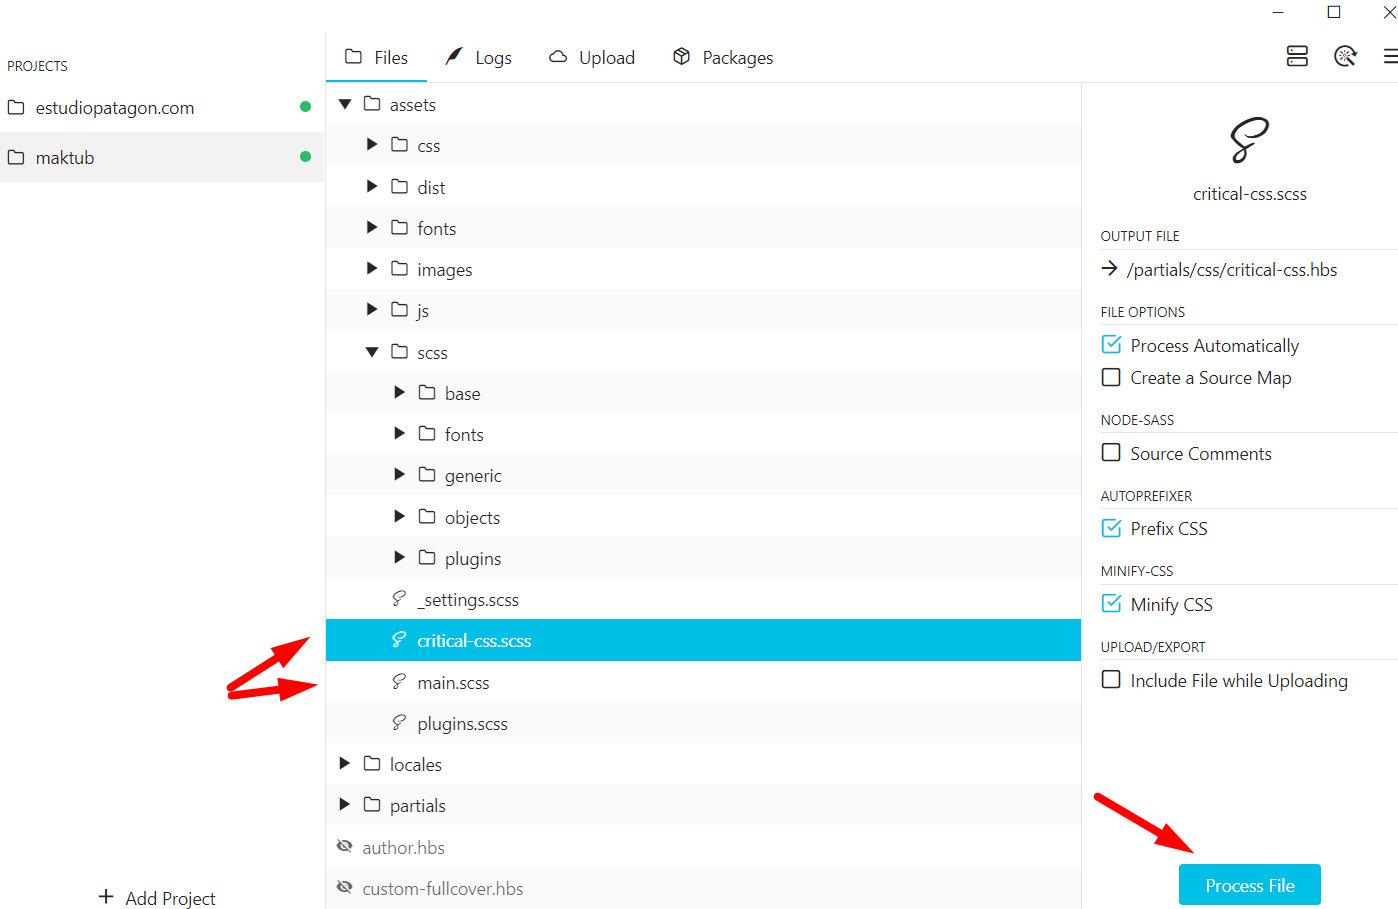
assets/scss/critical-css.scss and click “process file” and do the same for main.scss file.
You can double check if all is working properly on the Logs tab.