Theme Optimization
This section explains the basic concepts of optimization to help you get the highest score on Google PageSpeed tests.
Factors That Can Affect Speed
-
The number of plugins can affect your server performance. For example, having too many plugins increases CPU load, which negatively impacts your Google PageSpeed score. It’s recommended to keep the number of active plugins low.
-
Avoid using PNG or GIF images — they are not optimized and can hurt your score.
-
External scripts can have a negative impact on loading speed. Every time your site loads, it has to wait for the third-party content to render. Common examples include Adsense and iframes from platforms like Facebook or Twitter.
-
Your server may have low RAM, which can slow down front-end performance.
How to Reduce Negative Factors
- Reduce the number of installed plugins. If you’re not using a plugin, or if its benefits are minimal, deactivate it.
- Use WebP images whenever possible. If your server doesn’t support WebP, use JPG images, do not use PNG.
- If you’re using ads, check out our Lazy Adsense and Async Scripts options under Theme Options → Optimization. Also, enable Lazy Load for Iframes in the same tab to improve performance.
- Make sure your server has enough RAM for front-end processing. You can check this in EstudioPatagon → Welcome Page.
- Install a cache plugin. Some servers perform better with Autoptimize, while others may benefit from W3 Total Cache.
1. Install Cache Plugin
If you’re using multiple plugins and they are not optimized, it’s recommended to install Autoptimize.
Note: W3 Total Cache is recommended for large websites (with many posts, pages, and plugins), but it might not provide the best results in all cases.
Autoptimize (Minify and Reduce Page Weight)
-
Go to the Plugins section
-
Click Add New
-
Search for “Autoptimize” and install it
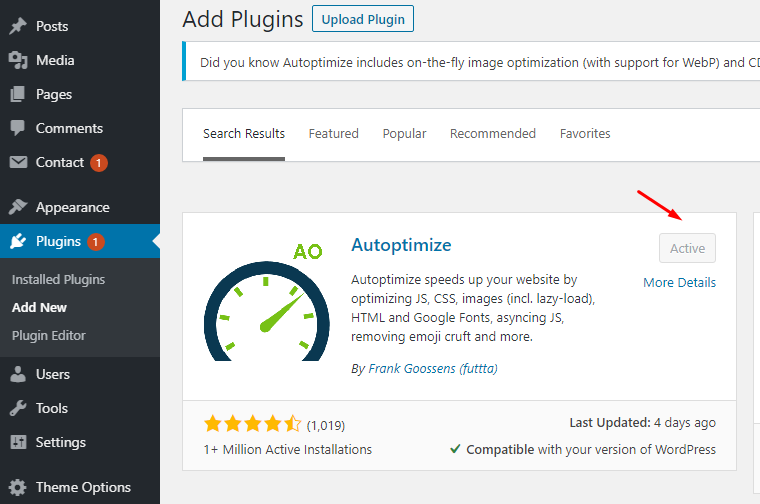
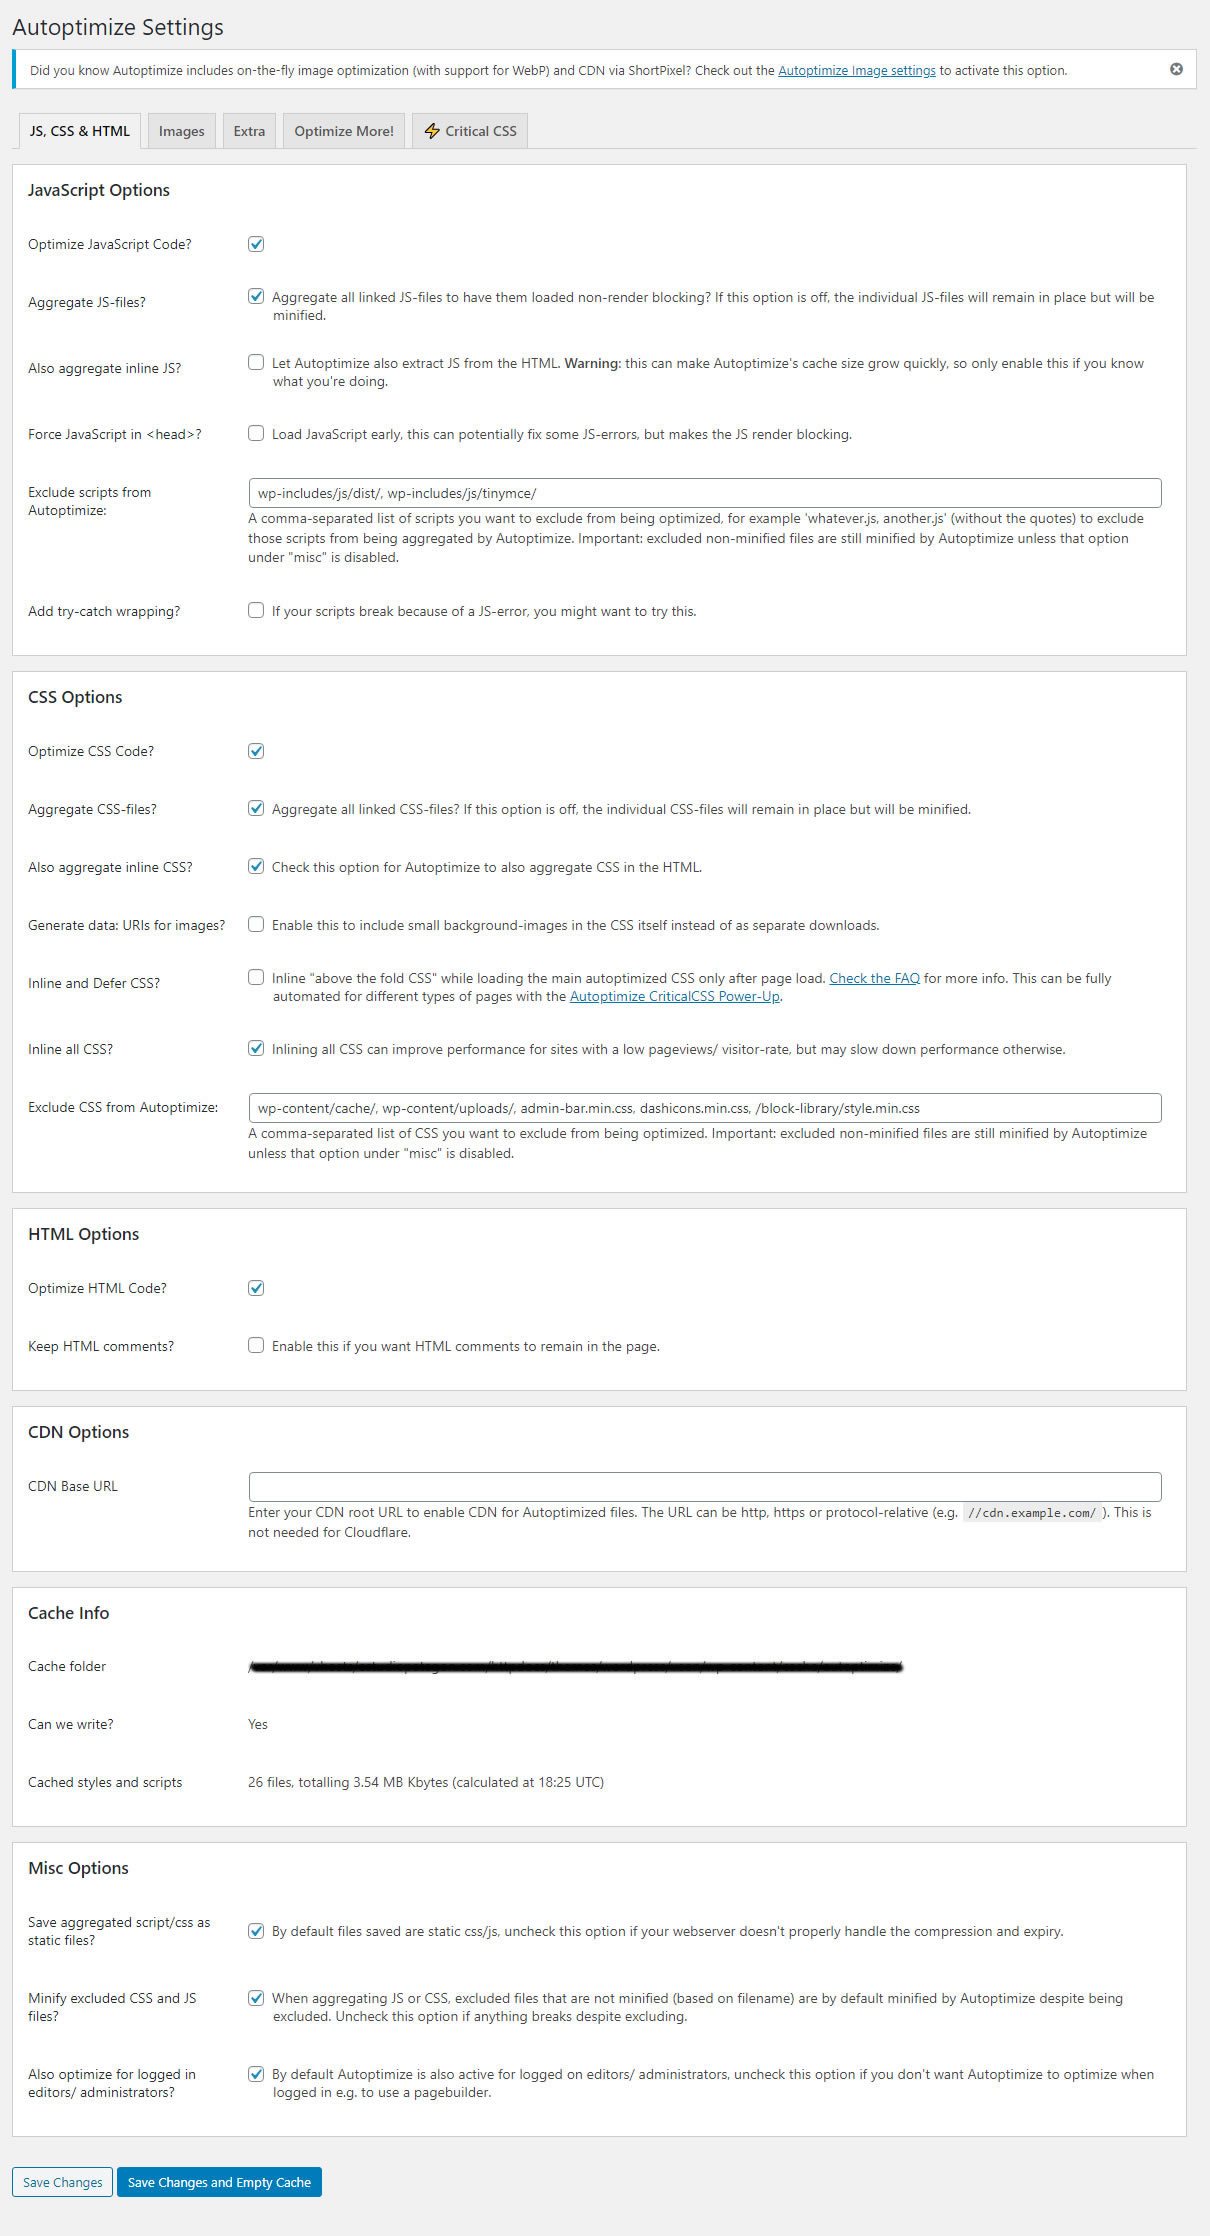
- Go to Settings → Autoptimize, and use the following configuration:
WP Super Cache
-
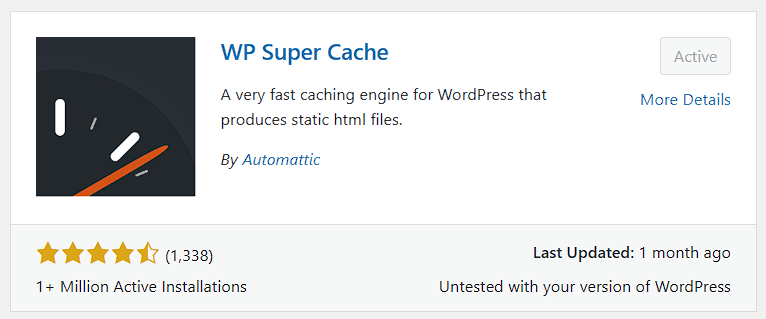
Go to the Plugins section
-
Click Add New
-
Search for “WP Super Cache” and install it
-
Go to Settings → WP Super Cache, and enable “Caching (recommended).”
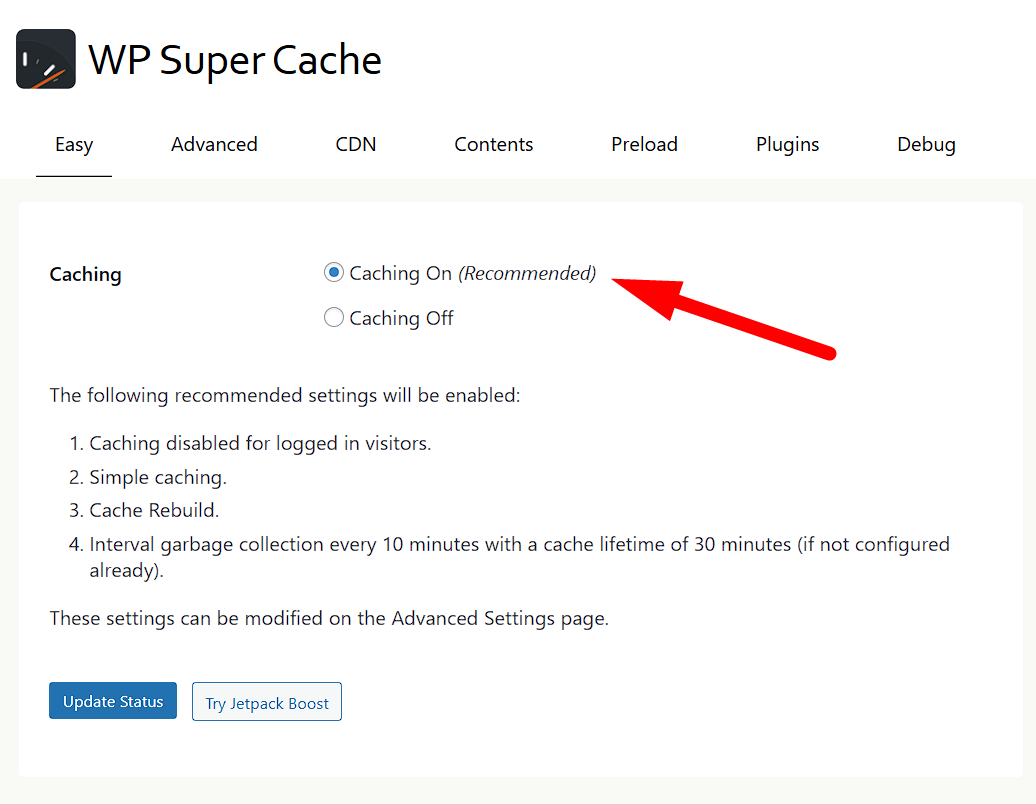
- Click update status to save.
2. How to Enable AMP Support (Optional)
Edger is compatible with the official AMP plugin, which can boost your SEO and overall loading speed. However, keep in mind that all scripts and JavaScript will stop working, so you’ll need to decide whether the trade-off between functionality and speed is worth it. You can read more about the benefits here: https://www.addthis.com/academy/benefits-of-accelerated-mobile-pages/
If you’re using any elements that are not AMP-compatible, it’s recommended to remove them using custom CSS. If you’re not comfortable with CSS, you can hire a developer from: https://www.fiverr.com/categories/programming-tech
The steps to fully enable AMP are:
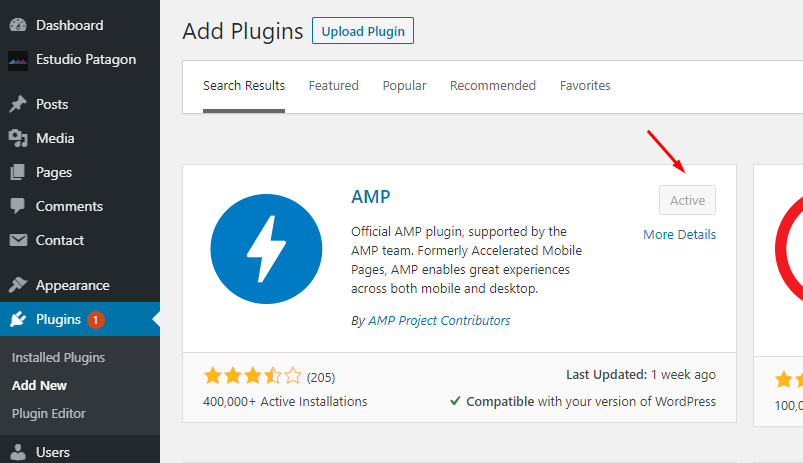
- Go to wp-admin → Plugins, search for “AMP”, then install and activate it.
- A new menu item called “AMP” will appear. Open it and enable “Transitional Mode”, and uncheck “Serve all templates as AMP”.
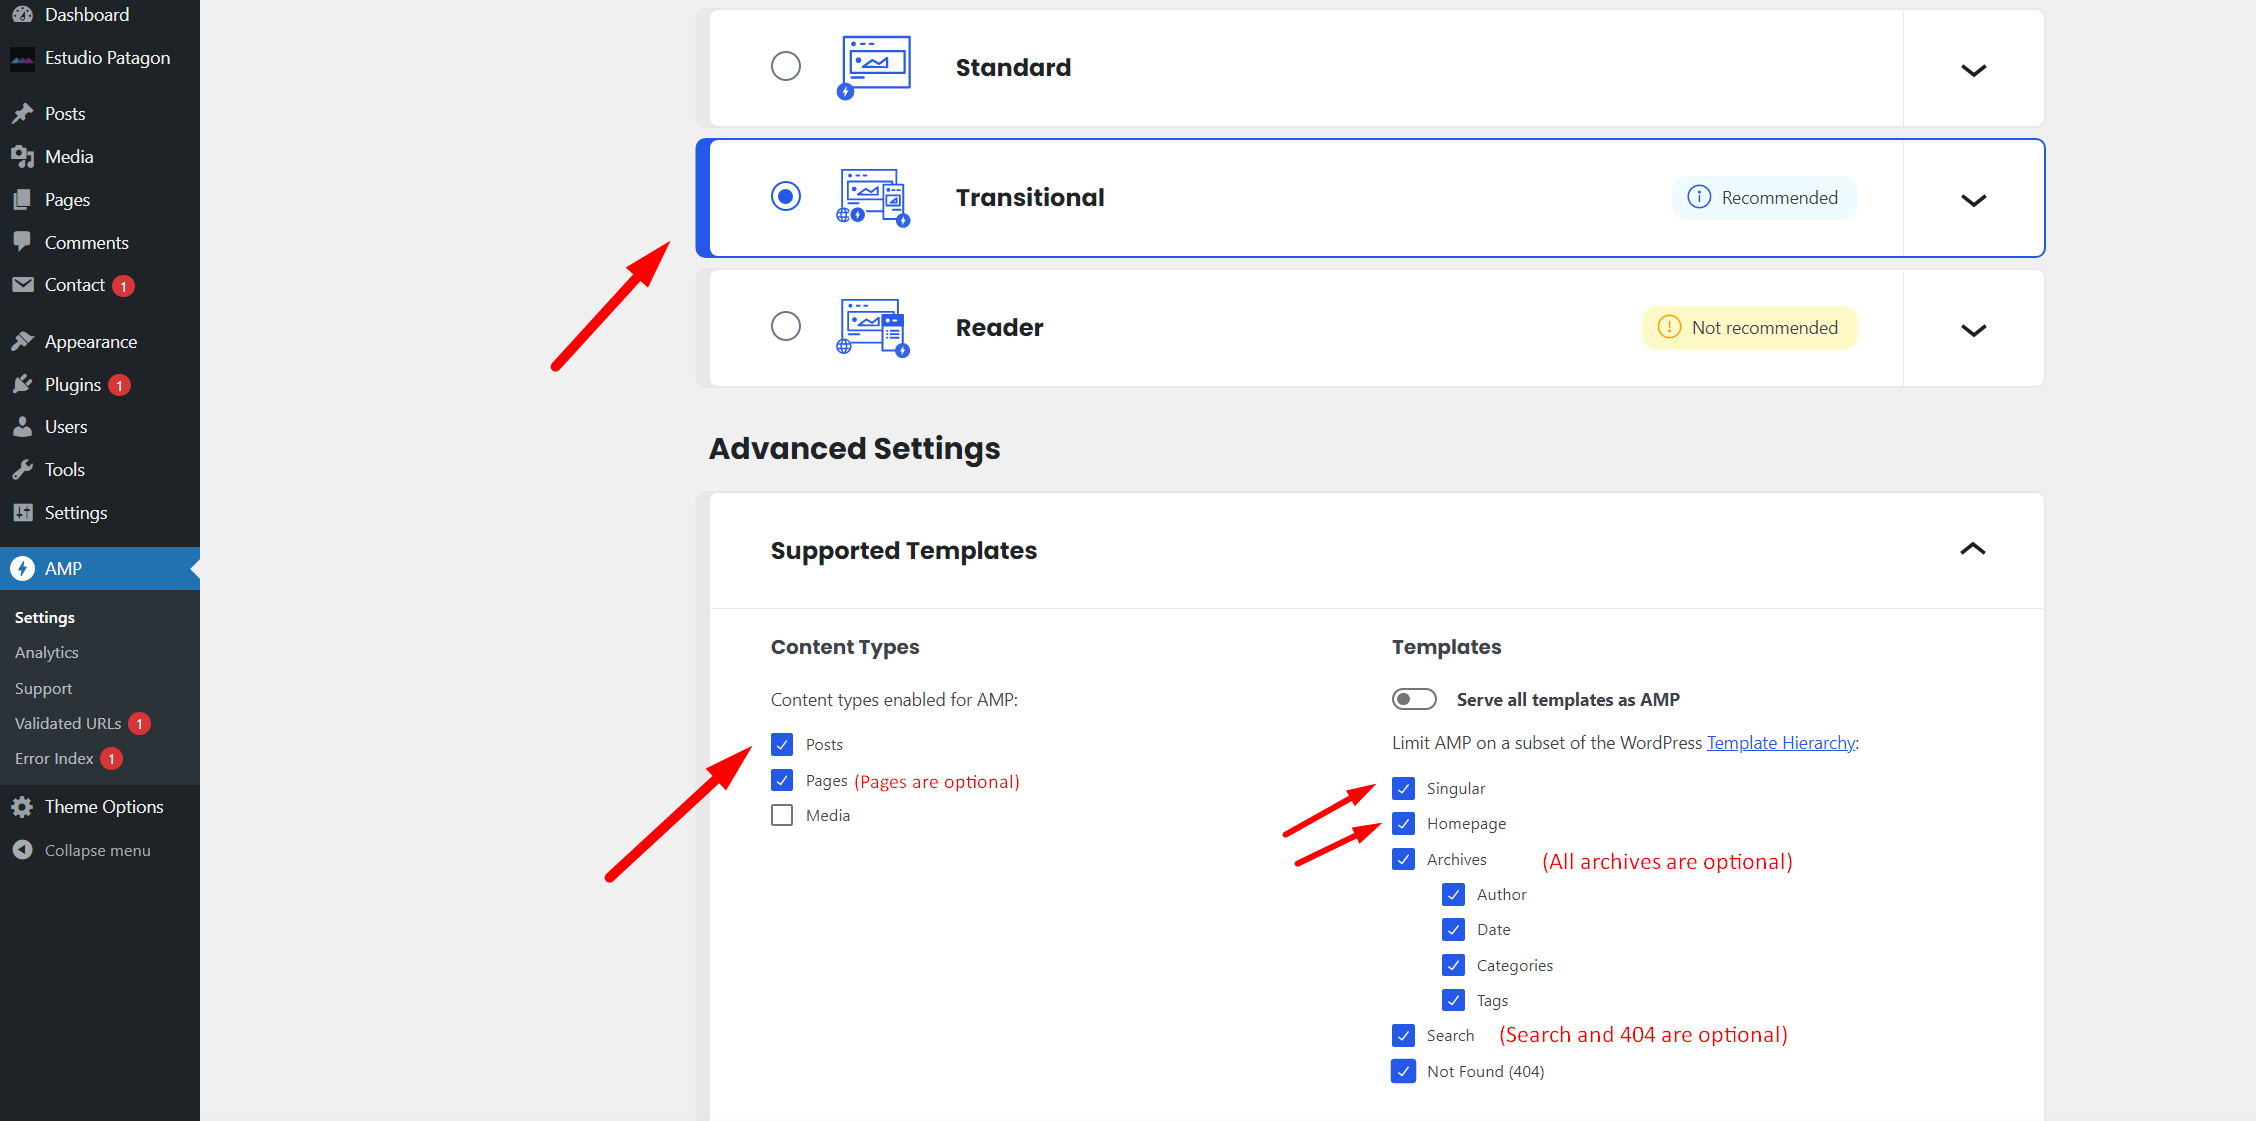
Note: Currently, Edger supports AMP on the following templates: Singular, Homepage, and Blog (if you use a separate blog page).
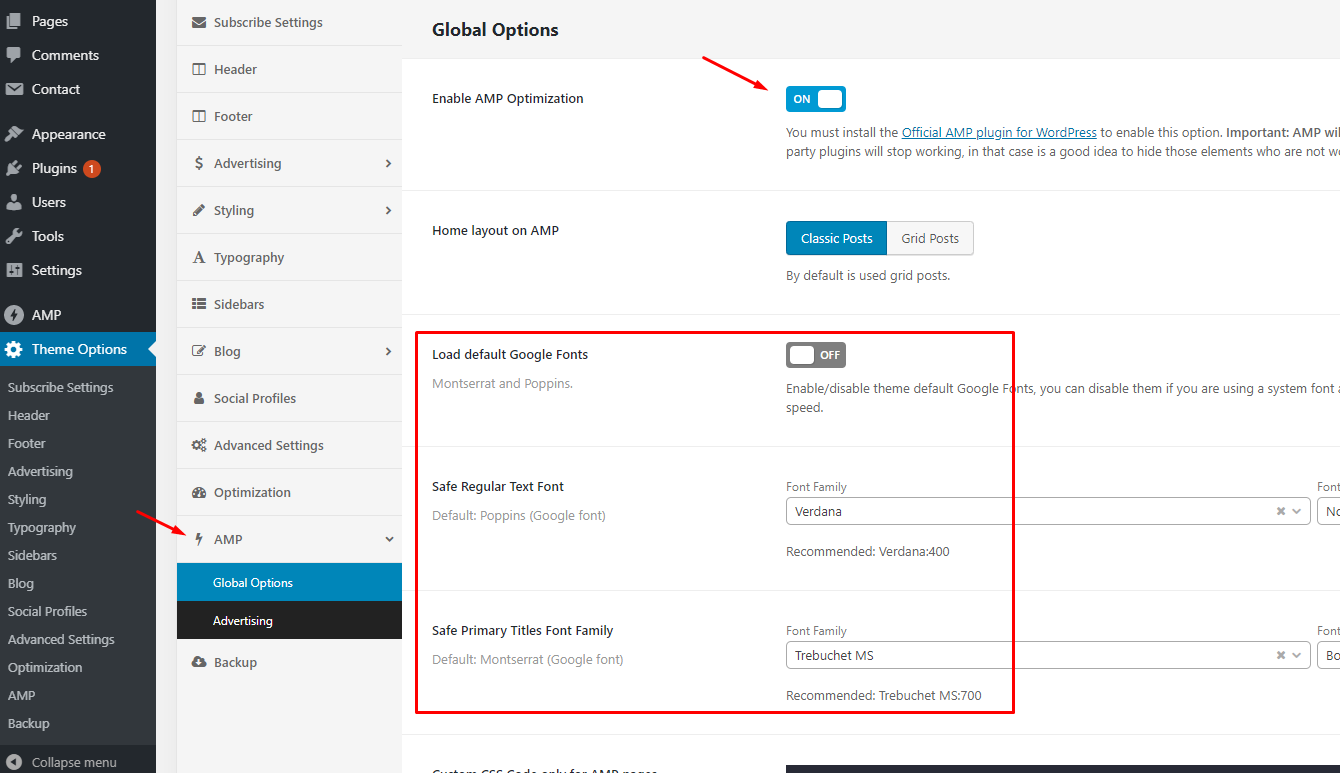
- Go to Theme Options, enable AMP, and optionally disable Google Fonts to improve loading speed even faster.
-
On a mobile device or emulator, check if the URL ends with
?amp. This confirms the AMP version is being served: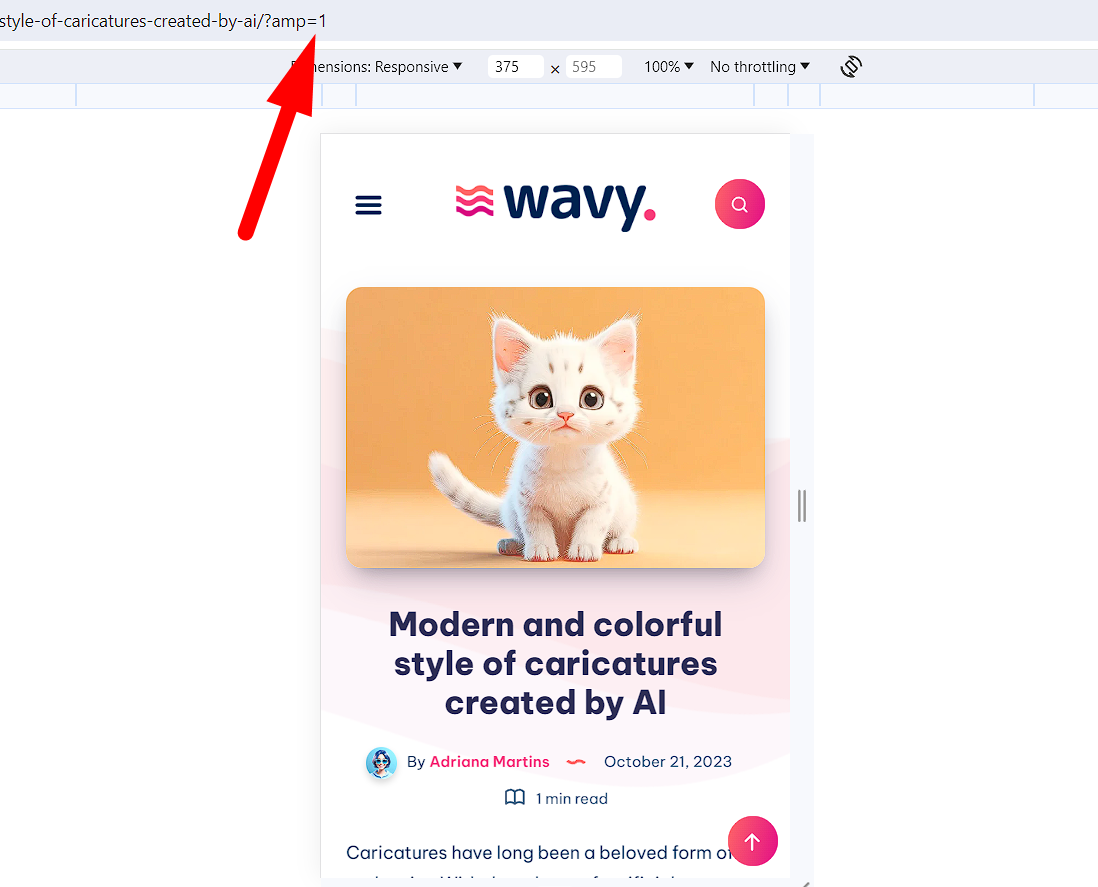
-
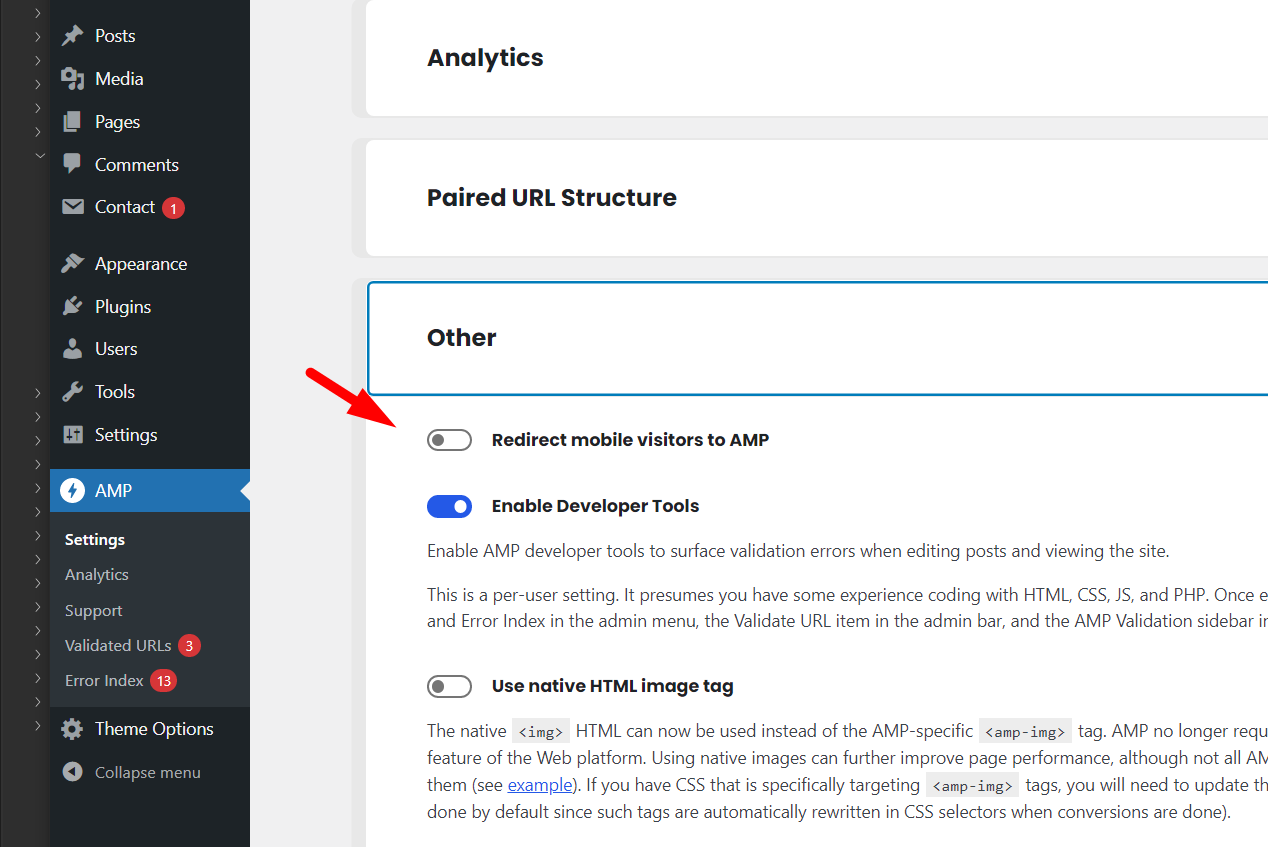
If your page isn’t marked as AMP-compatible, go to wp-admin → AMP → Settings and run a scan.
Incompatible plugins will be highlighted in red. You can suppress or replace them if needed: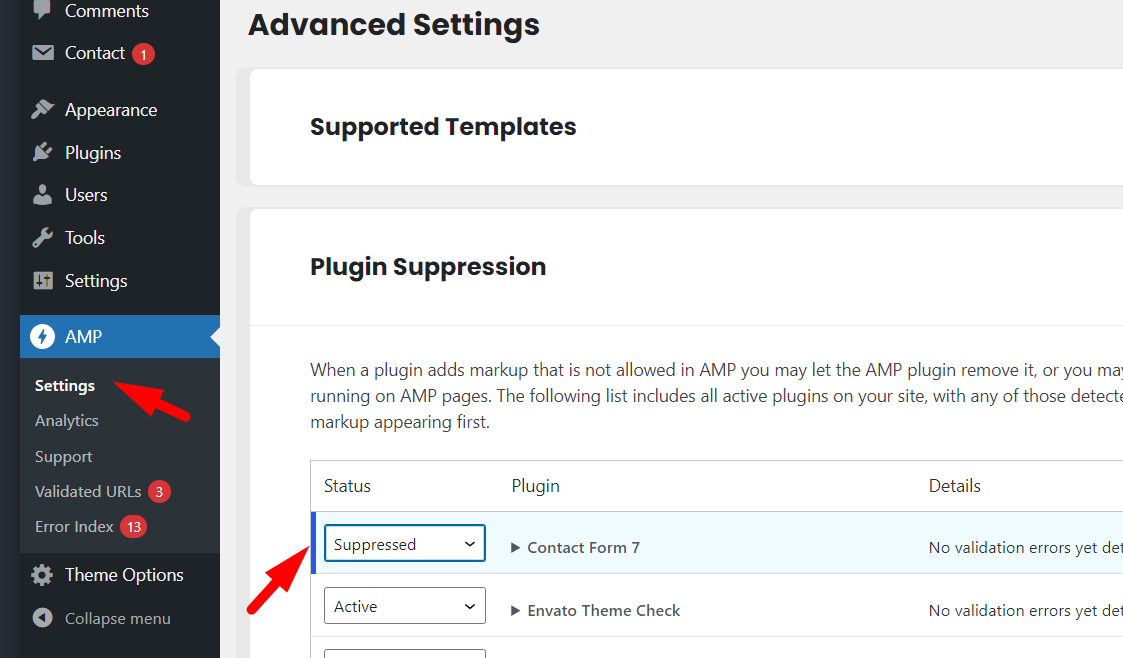
If you prefer not to automatically redirect mobile users to AMP pages, you can disable that setting from the AMP configuration panel.